Create an event with tickets
Platform

Raphaël Lapointe
Last Update 3 tahun yang lalu
When you create an event campaign on a platform, you have two options when it comes to adding tickets:
- Saving your event as a draft and adding tickets before publishing it
- This allows you to add your tickets while your campaign is in draft mode and is not publicly displayed on the site. You can then complete it and publish it later when it’s ready.
- Publishing the event before adding tickets
- It will then be immediately public but will not yet offer tickets. People will be able to see the event page but will not be able to purchase tickets until you add them via the administration.
Follow these steps to create an event with tickets:
#1 - To add tickets before publishing your event
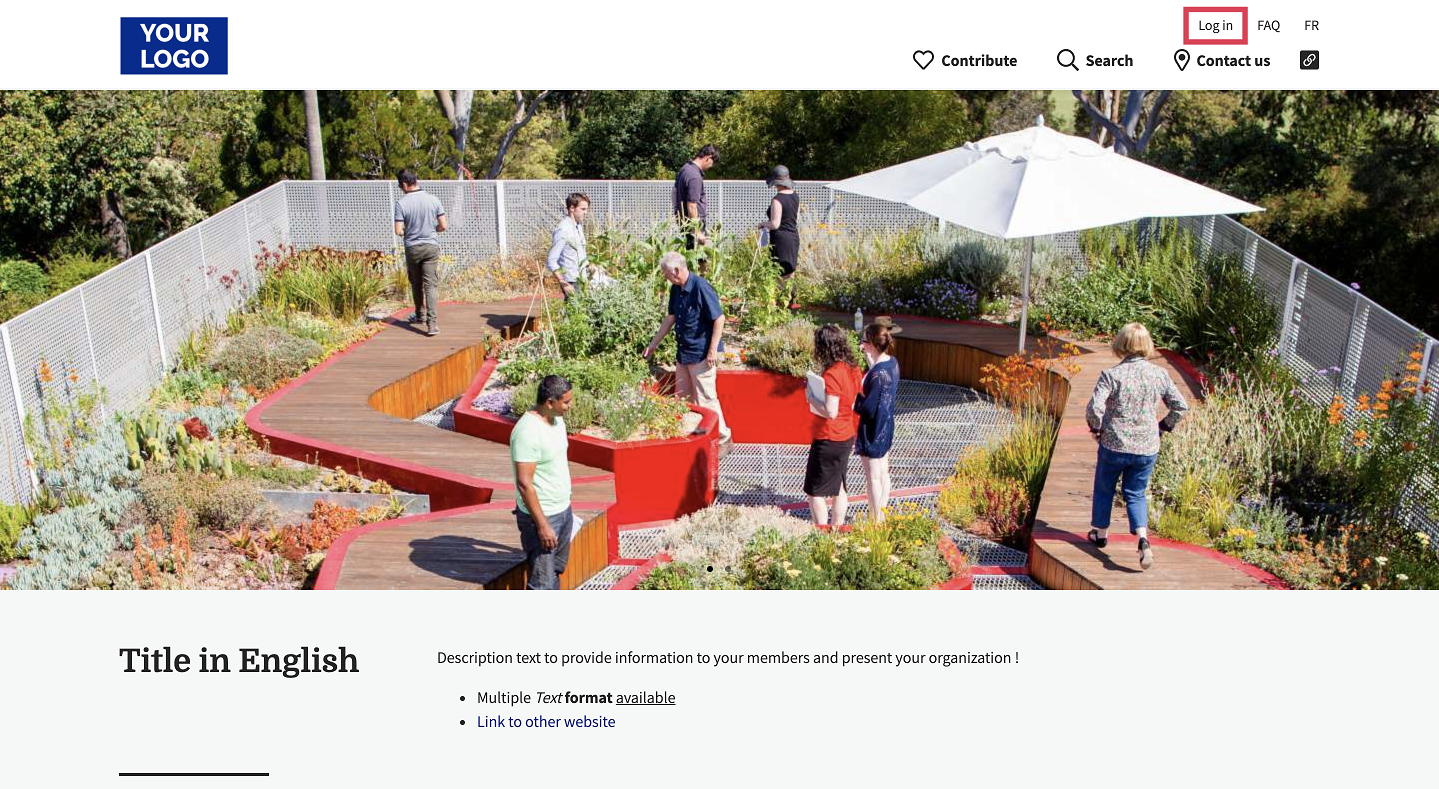
1. Go to your Fundky platform and log in by clicking Log in at the top right.

From your admin dashboard
- Click on your name at the top right and then click on Dashboard.
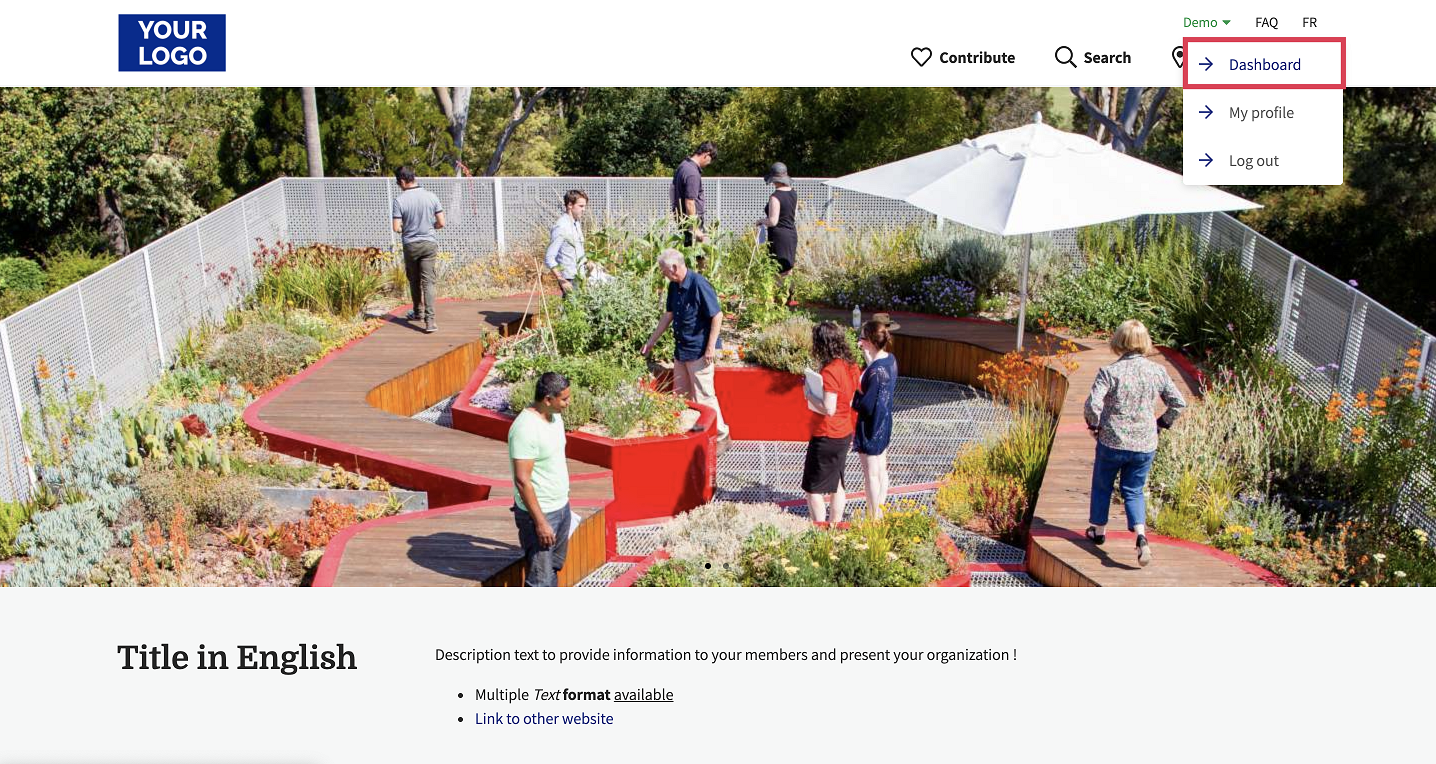
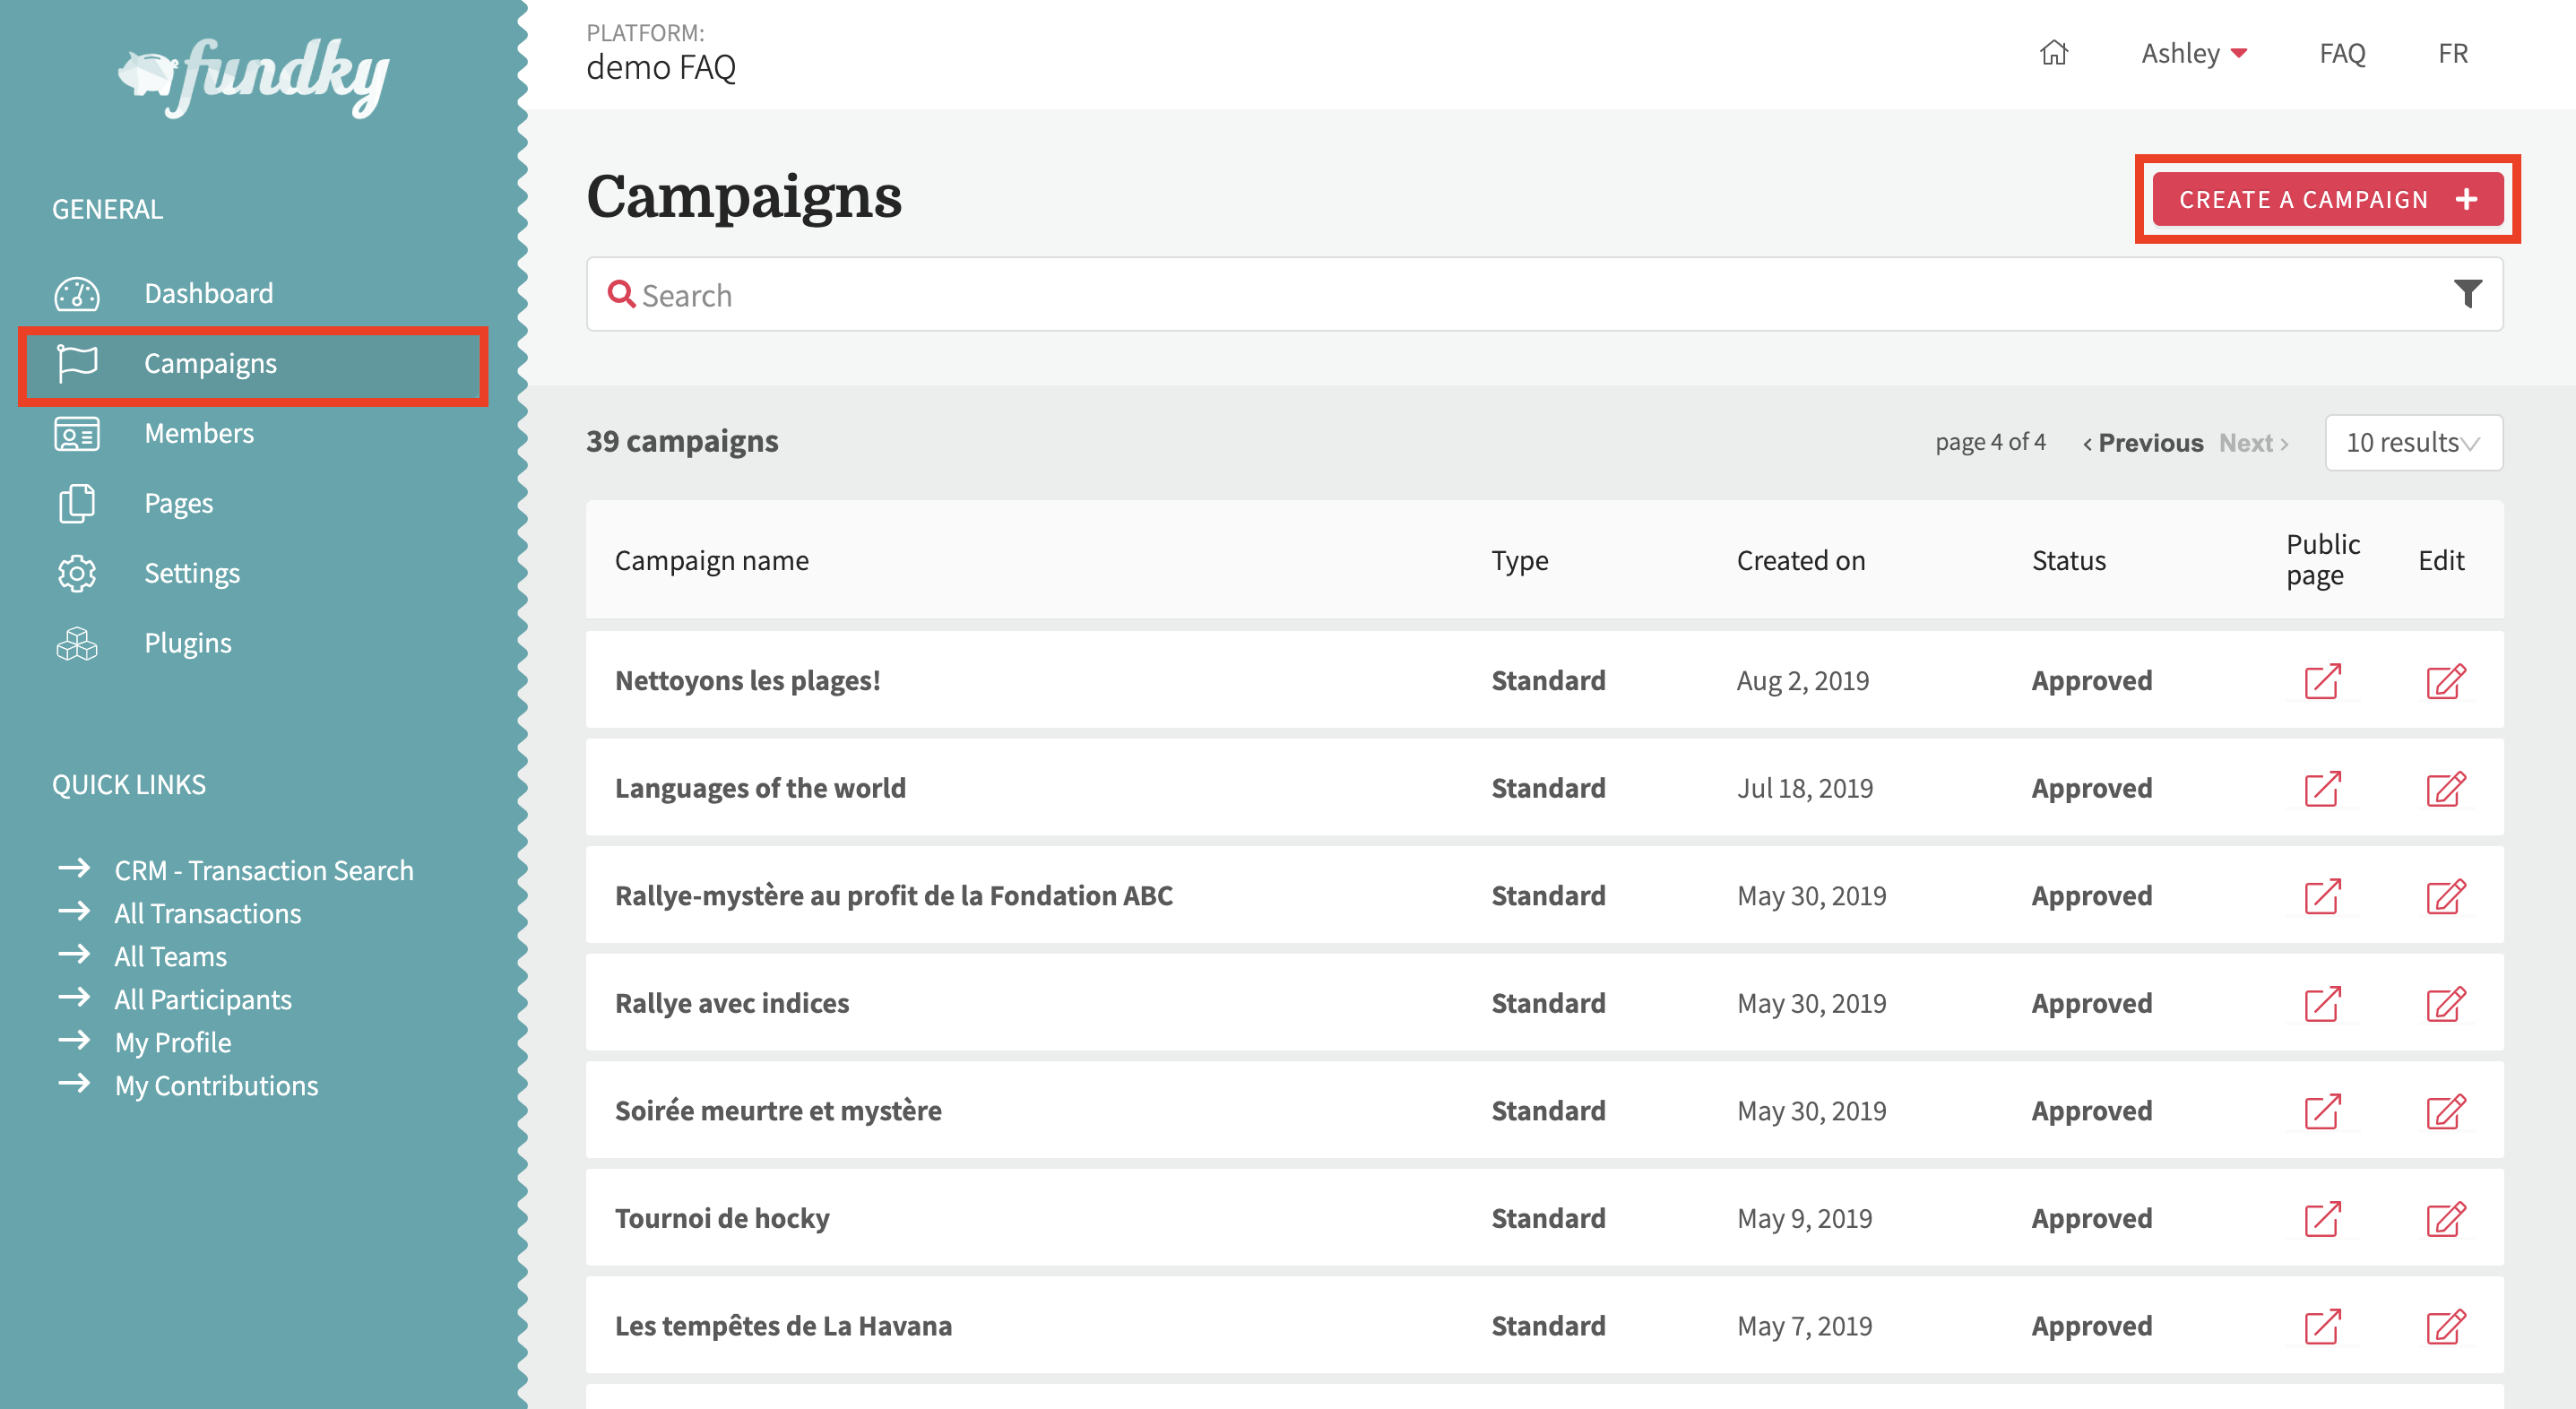
- Once in the administration, click on Campaigns in the left menu.
- Click on Create a campaign at the top right.
OR
From the platform homepage
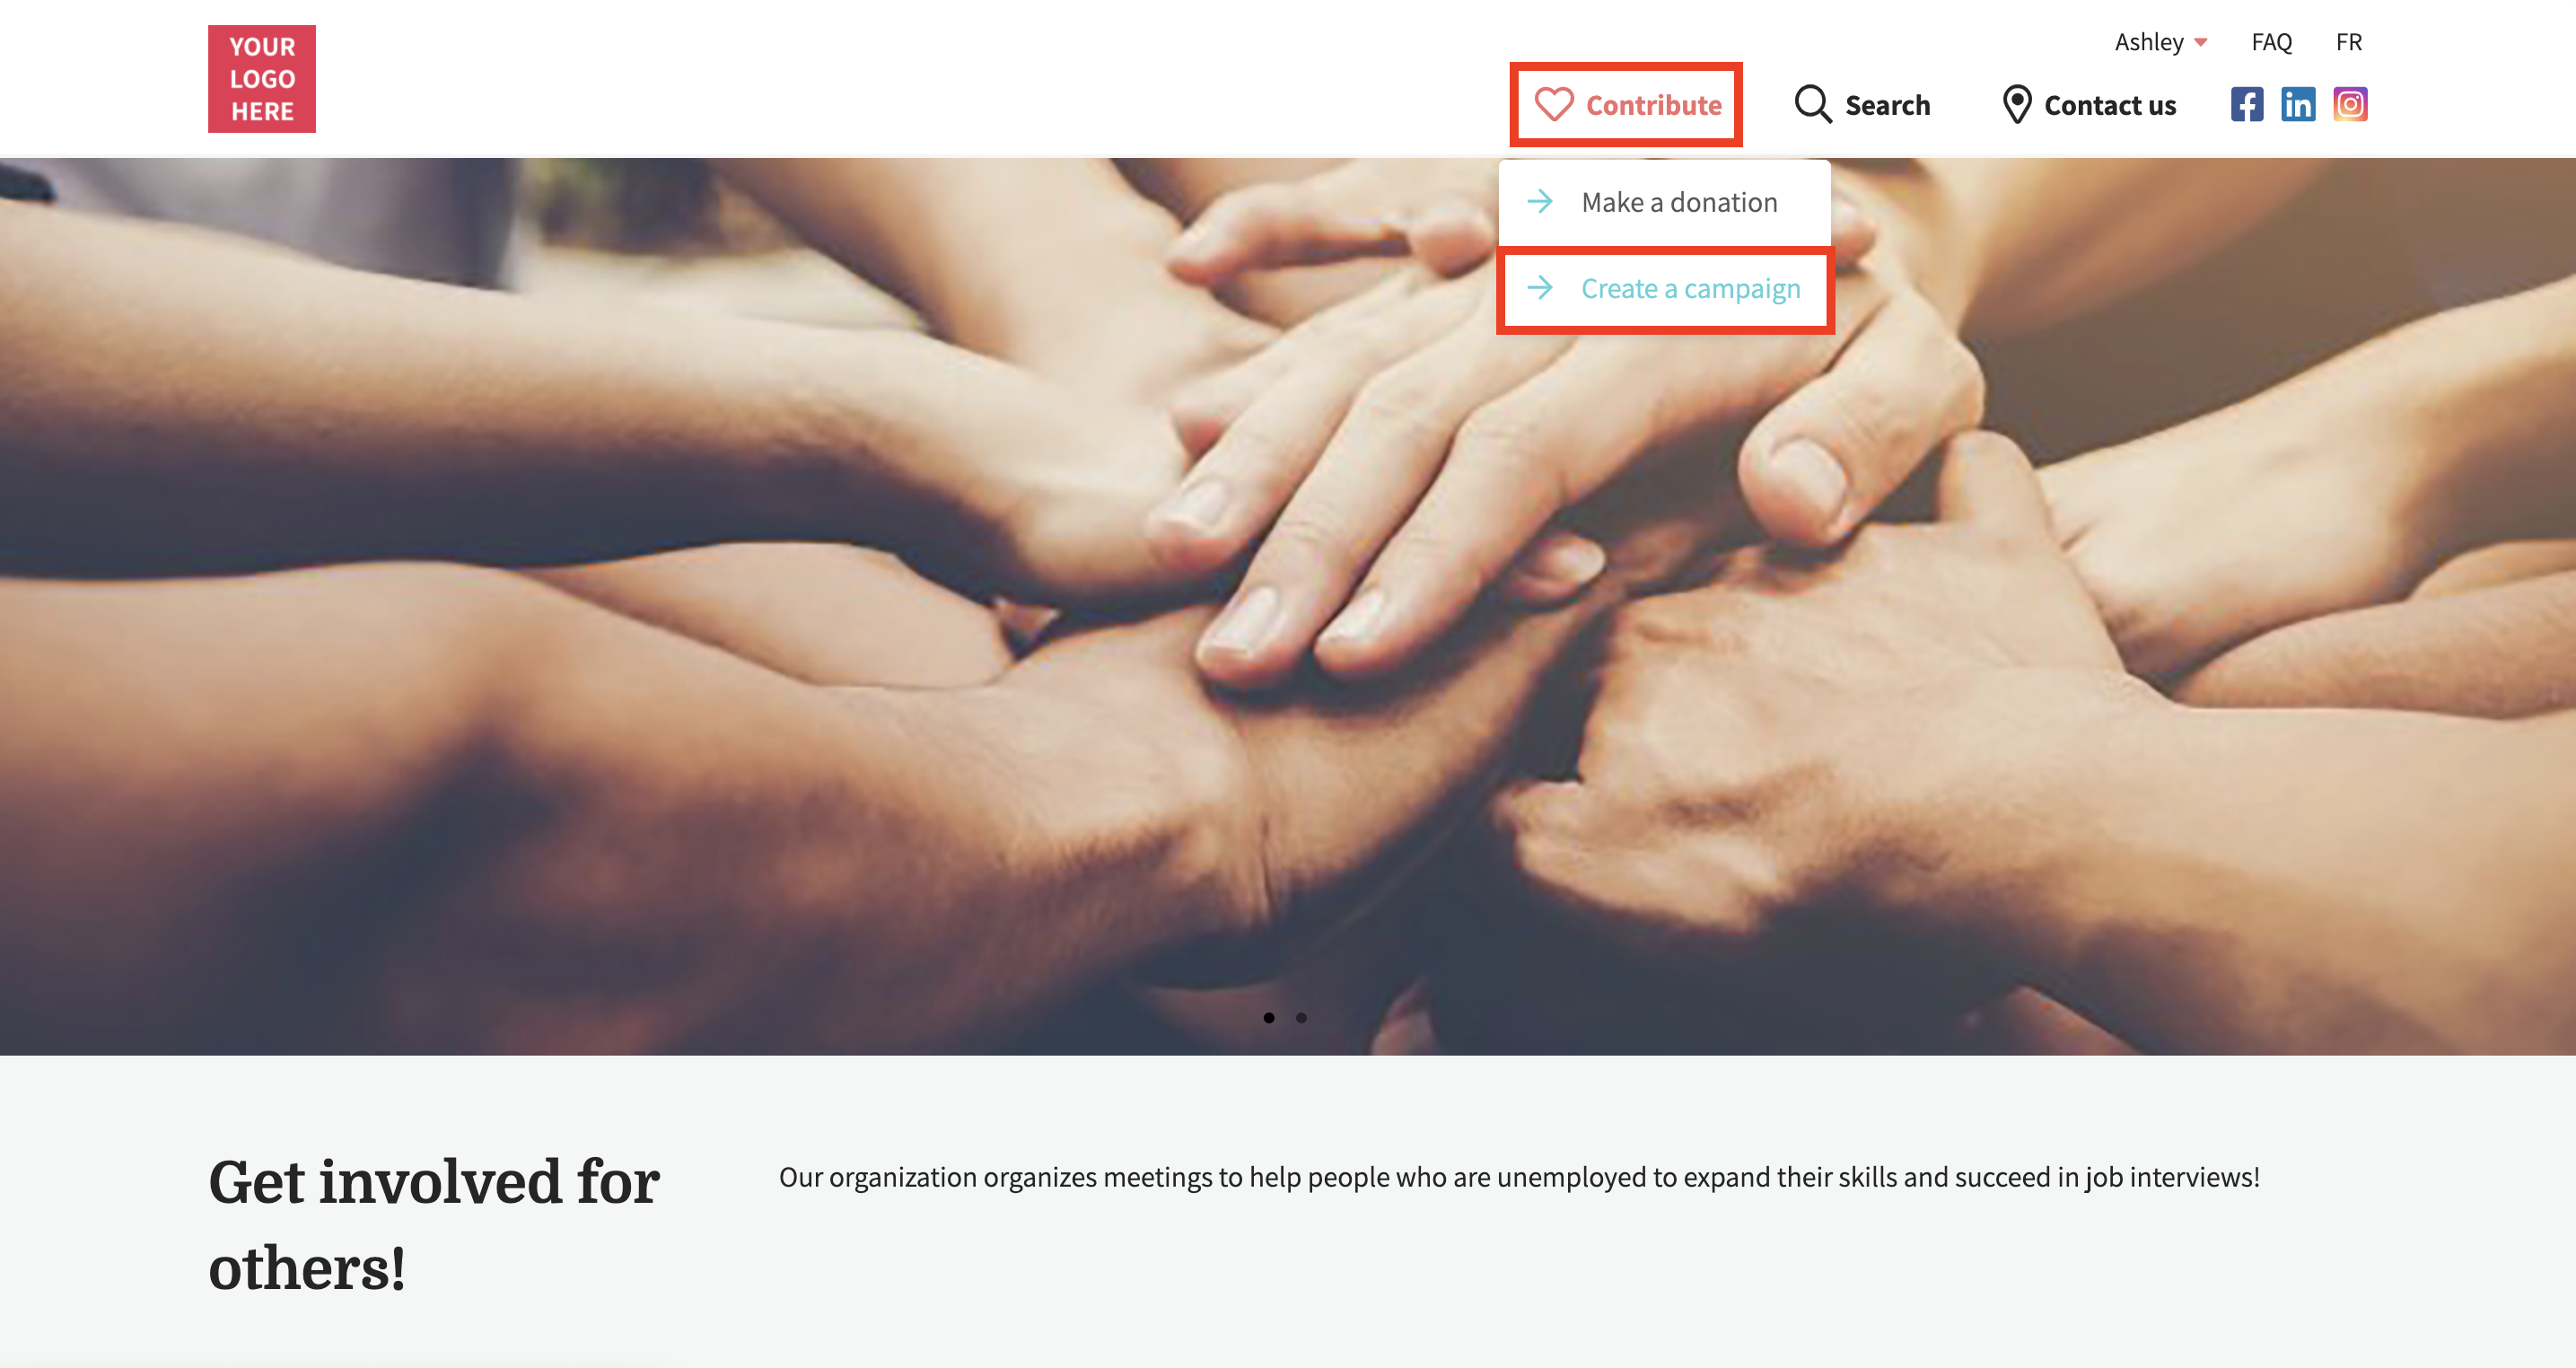
- Click on Contribute in the top menu, and select Create a campaign.

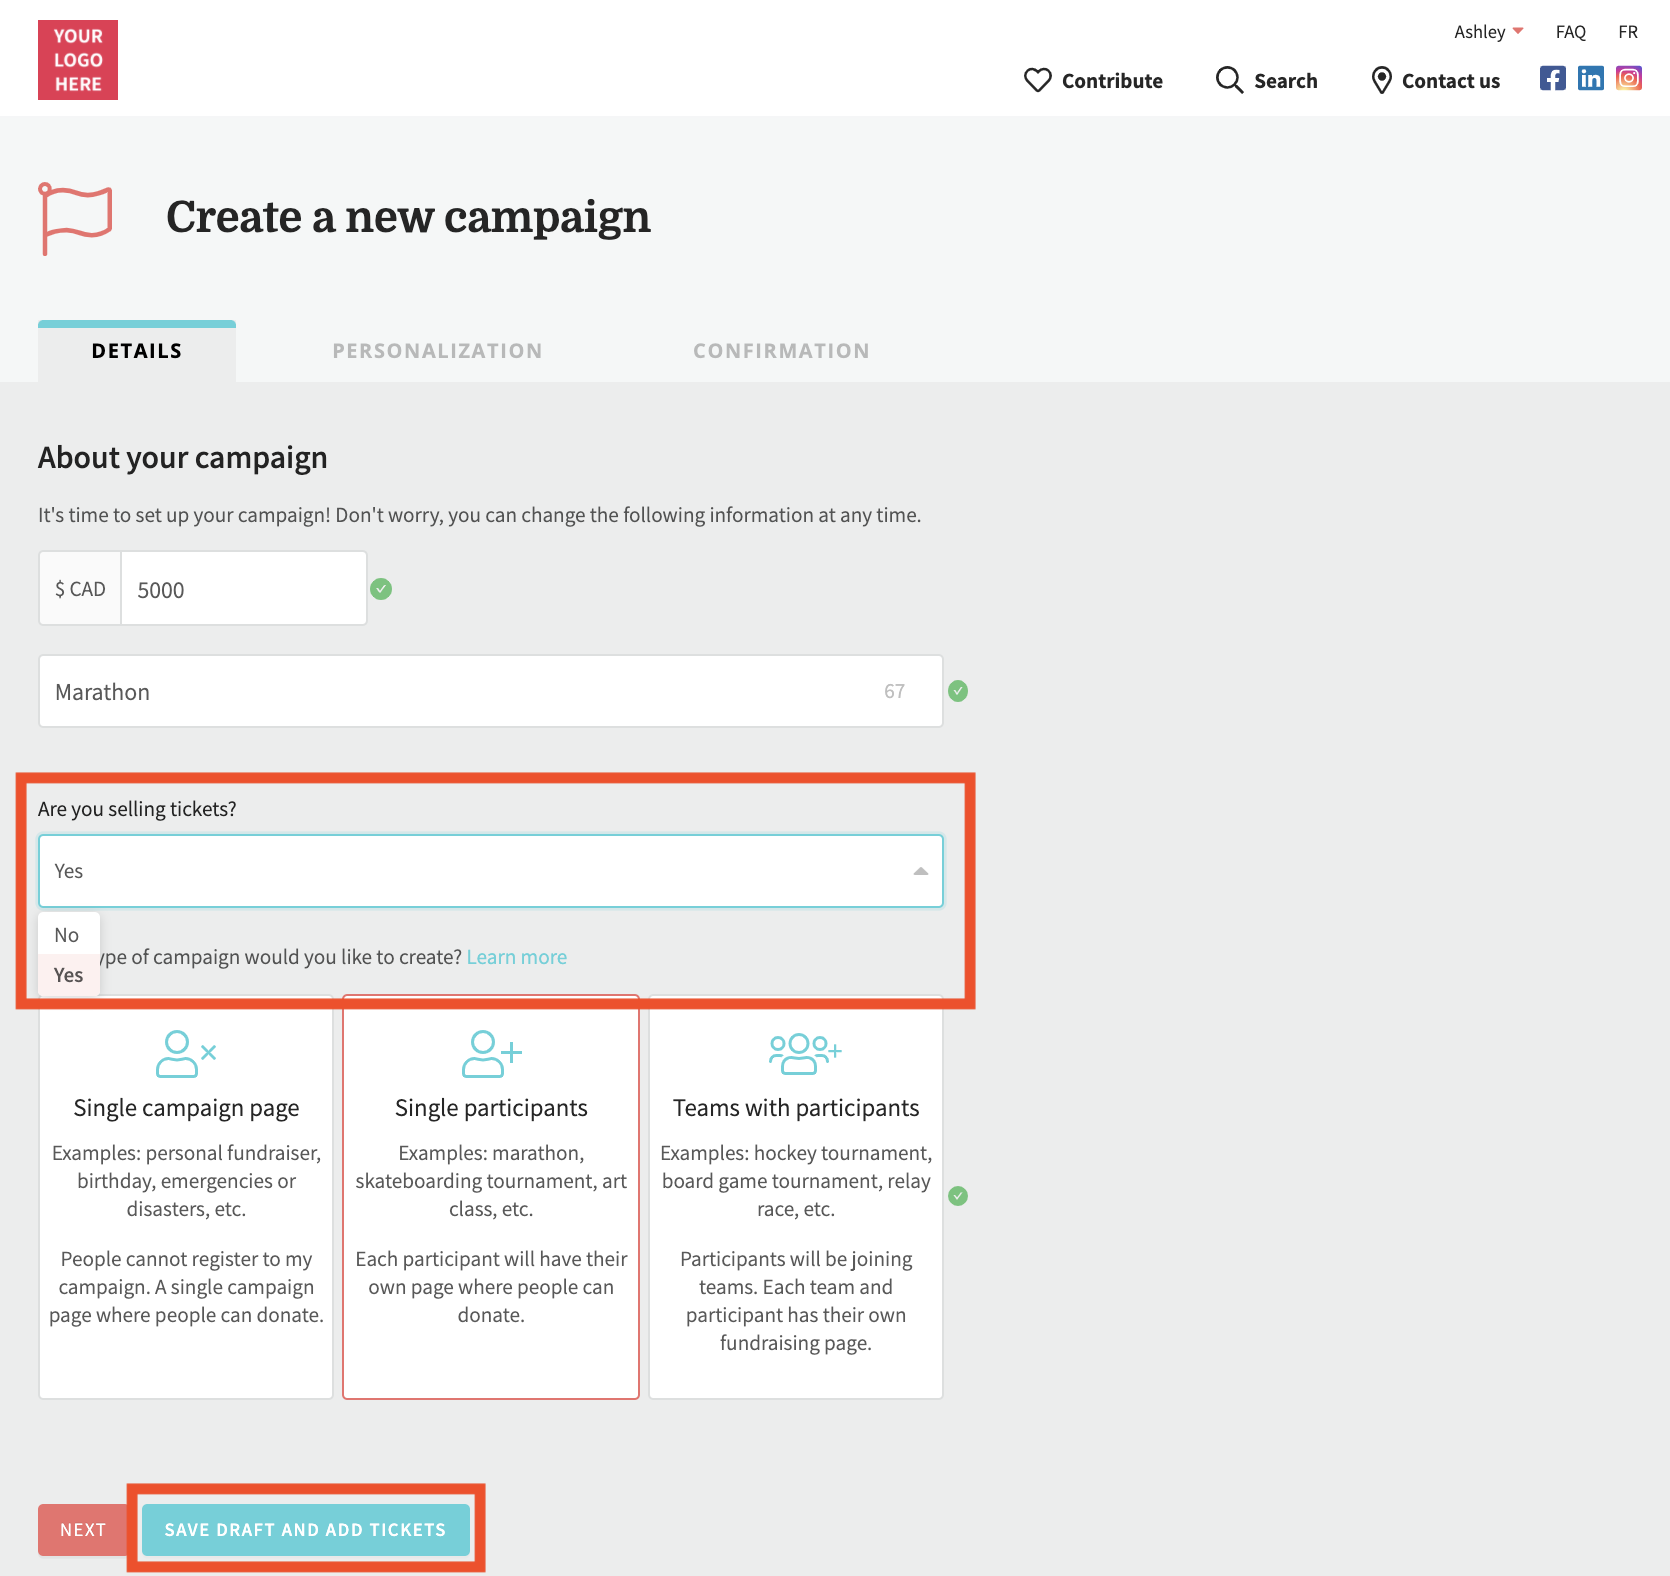
2. About your campaign: under Details, add your goal, your campaign name and choose Yes under Would you like to activate tickets for registrations?
Then choose the type of campaign you want to make.
- If you want to create a campaign with tickets linked to a registration (team page and participant page), see this article.
- If you want to create a campaign where the tickets are not linked to a registration (no team or participant page), check this article.
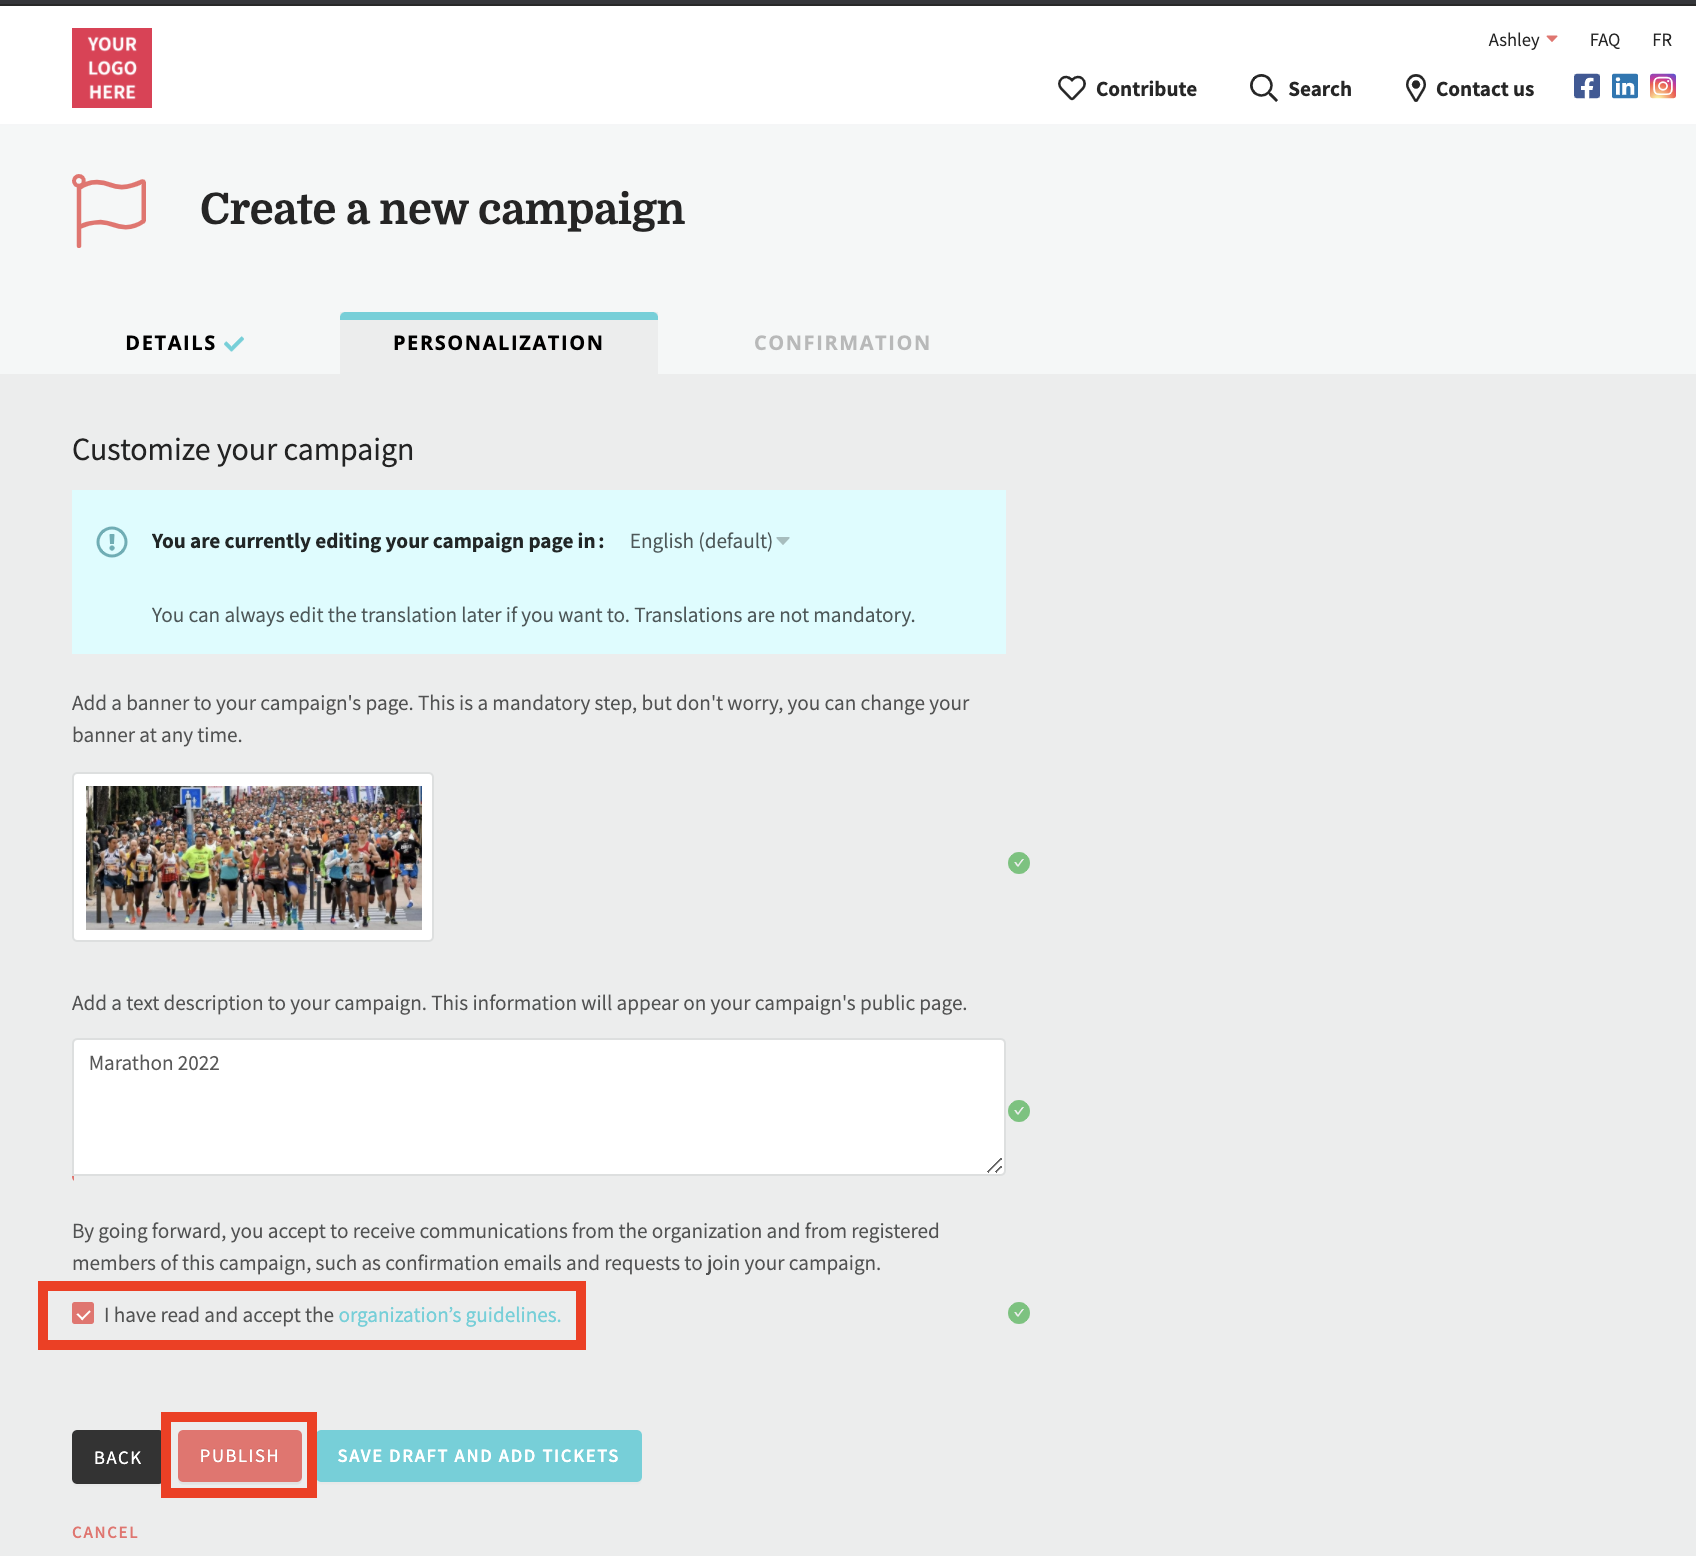
3. Click on Save draft and add tickets.
4. You will then be redirected to the administration of your campaign. Fill in all the fields (start and end dates ; banner ; description ; etc.). You can also save the content according to the desired language using the Language box on the right side of the page.
5. Click on Save draft.

#2 - To publish the event before adding tickets
1. Go to your Fundky platform and log in by clicking Log in at the top right.
From your admin dashboard
- Click on your name at the top right and then click on Dashboard.

- Once in the administration, click on Campaigns in the left menu.
- Click on Create a campaign at the top right.

OR
From the platform homepage
- Click on Contribute in the top menu, and select Create a campaign.
2. About your campaign: under Details, add your goal, your campaign name and choose Yes under Would you like to activate tickets for registrations?
Then choose the type of campaign you want to make.
- If you want to create a campaign with tickets linked to a registration (team page and participant page), see this article.
- If you want to create a campaign where the tickets are not linked to a registration (no team or participant page), check this article.
3. Click on Next.

4. Add your event banner image and description. You can also add this content in another language by using the language drop down menu in the blue information bar at the top of the page. Then, check the box I have read and accept the organization’s guidelines.
5. Click on Publish. Your event is now public but doesn’t offer any ticket.
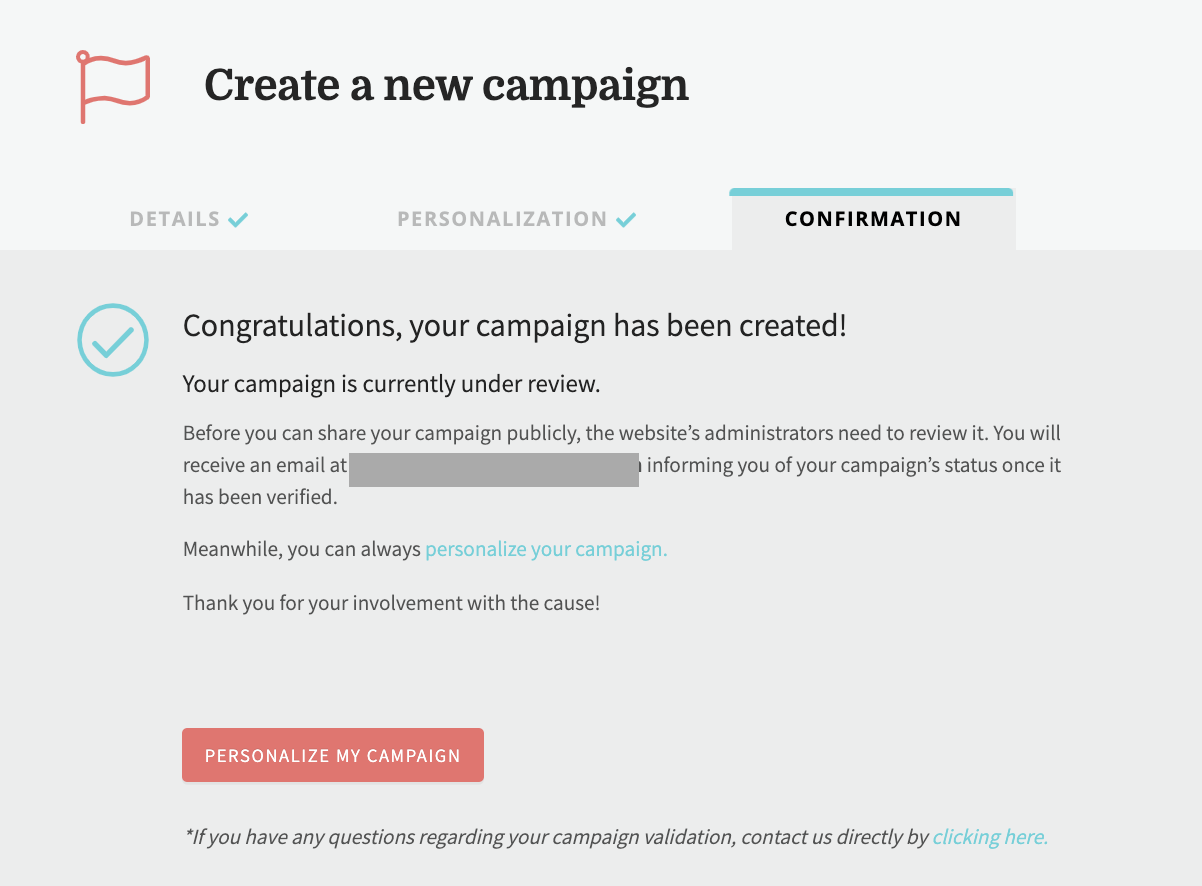
6. A- If your campaign is pending approval
Click on Personalize my campaign. You’ll automatically be redirected in the INFORMATION section of your campaign in the administration.
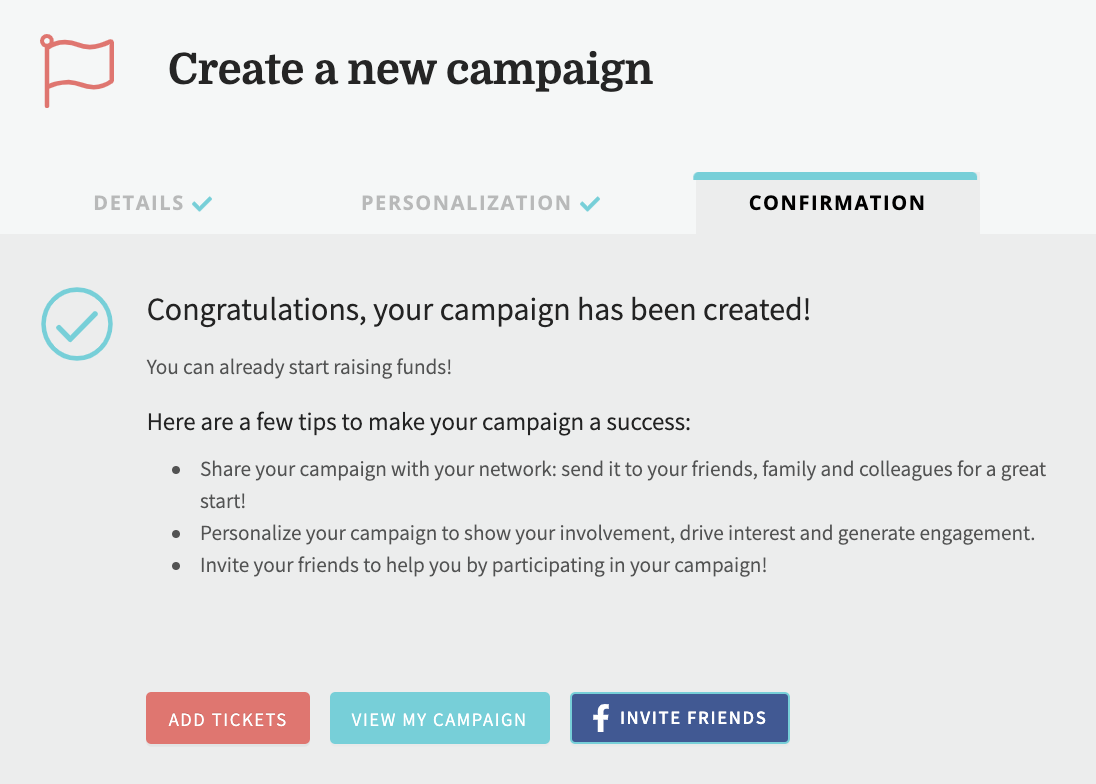
B- If your campaign is pre-approved
Click on Add tickets. You’ll automatically be redirected in the TICKETS section of your campaign in the administration.
To learn how to add tickets to your campaign, check out the following articles: